XI. Automated Testing for Unity3D Engine-Based Games
1.Preface
As the game interface is rendered through the game engine, there is no system-native control information in it. Therefore, we need to integrate the Poco-SDK to obtain its control information. This article will take a mobile game developed with Unity as an example to show how to connect it on Android and iOS platforms.
2.Android Platform
1.Clone the Unity3D folder from the poco sdk repo.
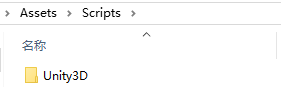
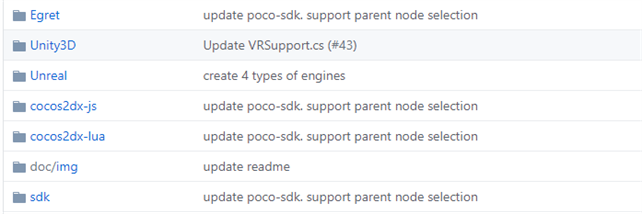 2.Place the cloned Unity3D folder in the Assets/Scripts directory of your Unity project.
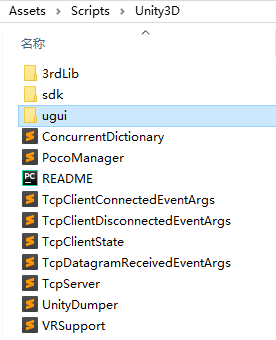
3.Delete the folder named after an unused UI system in the Assets/Scripts/Unity3D directory. For example, if your project uses the ugui UI system, delete the fairygui and ngui folders, and keep the ugui folder only.
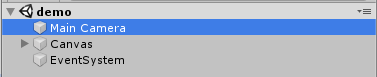
4.Translation: Open your project in Unity3D, and add Unity3D/PocoManager.cs as a script component to your GameObject. It should be attached to an object that never gets destroyed, such as the main camera in most cases.
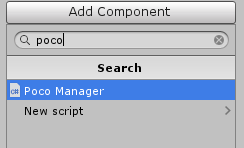
For example: Click on the "Main Camera" in the "demo" to open the Inspector panel on the right side, and then click "Add Component" in the Inspector panel.

Input "poco" in the pop-up dialog and select the option "Poco Manager" that appears.
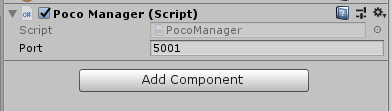
After completion, the component will appear in the Inspector panel as shown in the figure.
5.Click on "File" in the upper left corner of the interface, then select "Build Settings" to generate a suitable Android package and install it on your phone.
6.Launch Airtest IDE, connect to your phone as instructed earlier, and start the corresponding game.
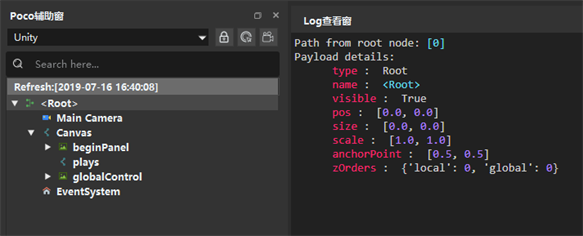
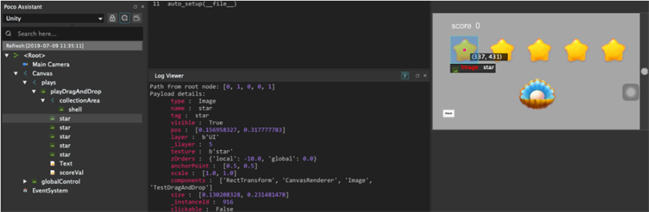
7.Select the Unity mode in the Poco window in the lower left corner to view the UI tree structure of the current interface.
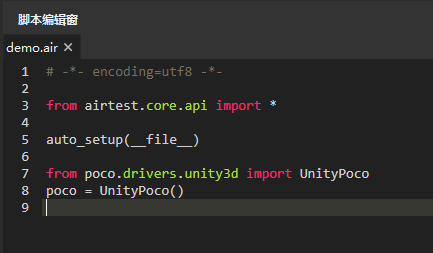
 8.After choosing the Unity mode, the Airtest IDE will automatically add the initialization code for Poco:
After that, you can use the APIs provided by Poco to operate on the elements of the game interface to write your scripts.
8.After choosing the Unity mode, the Airtest IDE will automatically add the initialization code for Poco:
After that, you can use the APIs provided by Poco to operate on the elements of the game interface to write your scripts.
 Here's a simple test case. You can download this simple Unity3D game here. After installation, open the game and click "Start", then click "drag drop" to display the interface as shown below.
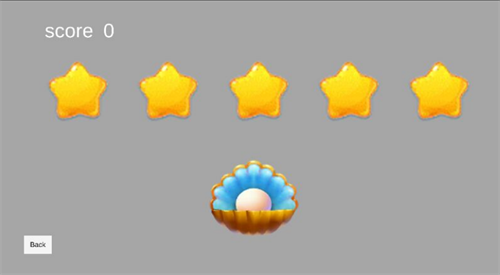 For each star dragged onto the shell at the center of the screen, 20 points are earned; if 5 stars are dragged onto the shell in sequence, 100 points are obtained. The following script tests whether dragging 5 stars in sequence will result in a score of 100.
from airtest.core.api import *

auto_setup(__file__)

from poco.drivers.unity3d import UnityPoco
poco = UnityPoco()

poco('btn_start').click()
time.sleep(1.5)

poco('drag_and_drop').click()

shell = poco('shell').focus('center')
for star in poco('plays').offspring('star'):
 star.drag_to(shell)
time.sleep(1)

assert poco('scoreVal').get_text() == "100", "score correct."
poco('btn_back', type='Button').click()
Click the "Run Script" button to get the results shown below.
3.iOS Platform
1.Similarly, you should first integrate the engine SDK and package it for installation on an iOS phone. Then, you can connect to the iOS phone using Airtest IDE.
2.Unlike Android, connecting to iOS Unity Poco requires launching two proxies. Port 8100 is used to connect to the iOS device, while port 5001 is used to connect to the Poco-SDK's RPC port.
iproxy 8100 8100
iproxy 5001 5001
3.The "iproxy" here is equivalent to "forward" in adb.
After connecting your iOS phone, select the Unity mode in the Poco window to view the UI element tree of the current interface.
4.Then you can utilize the APIs provided by Poco to write automation test scripts for games on iOS.