III. AirtestIDE Interface Introduction
1.AirtestIDE Main Interface Introduction
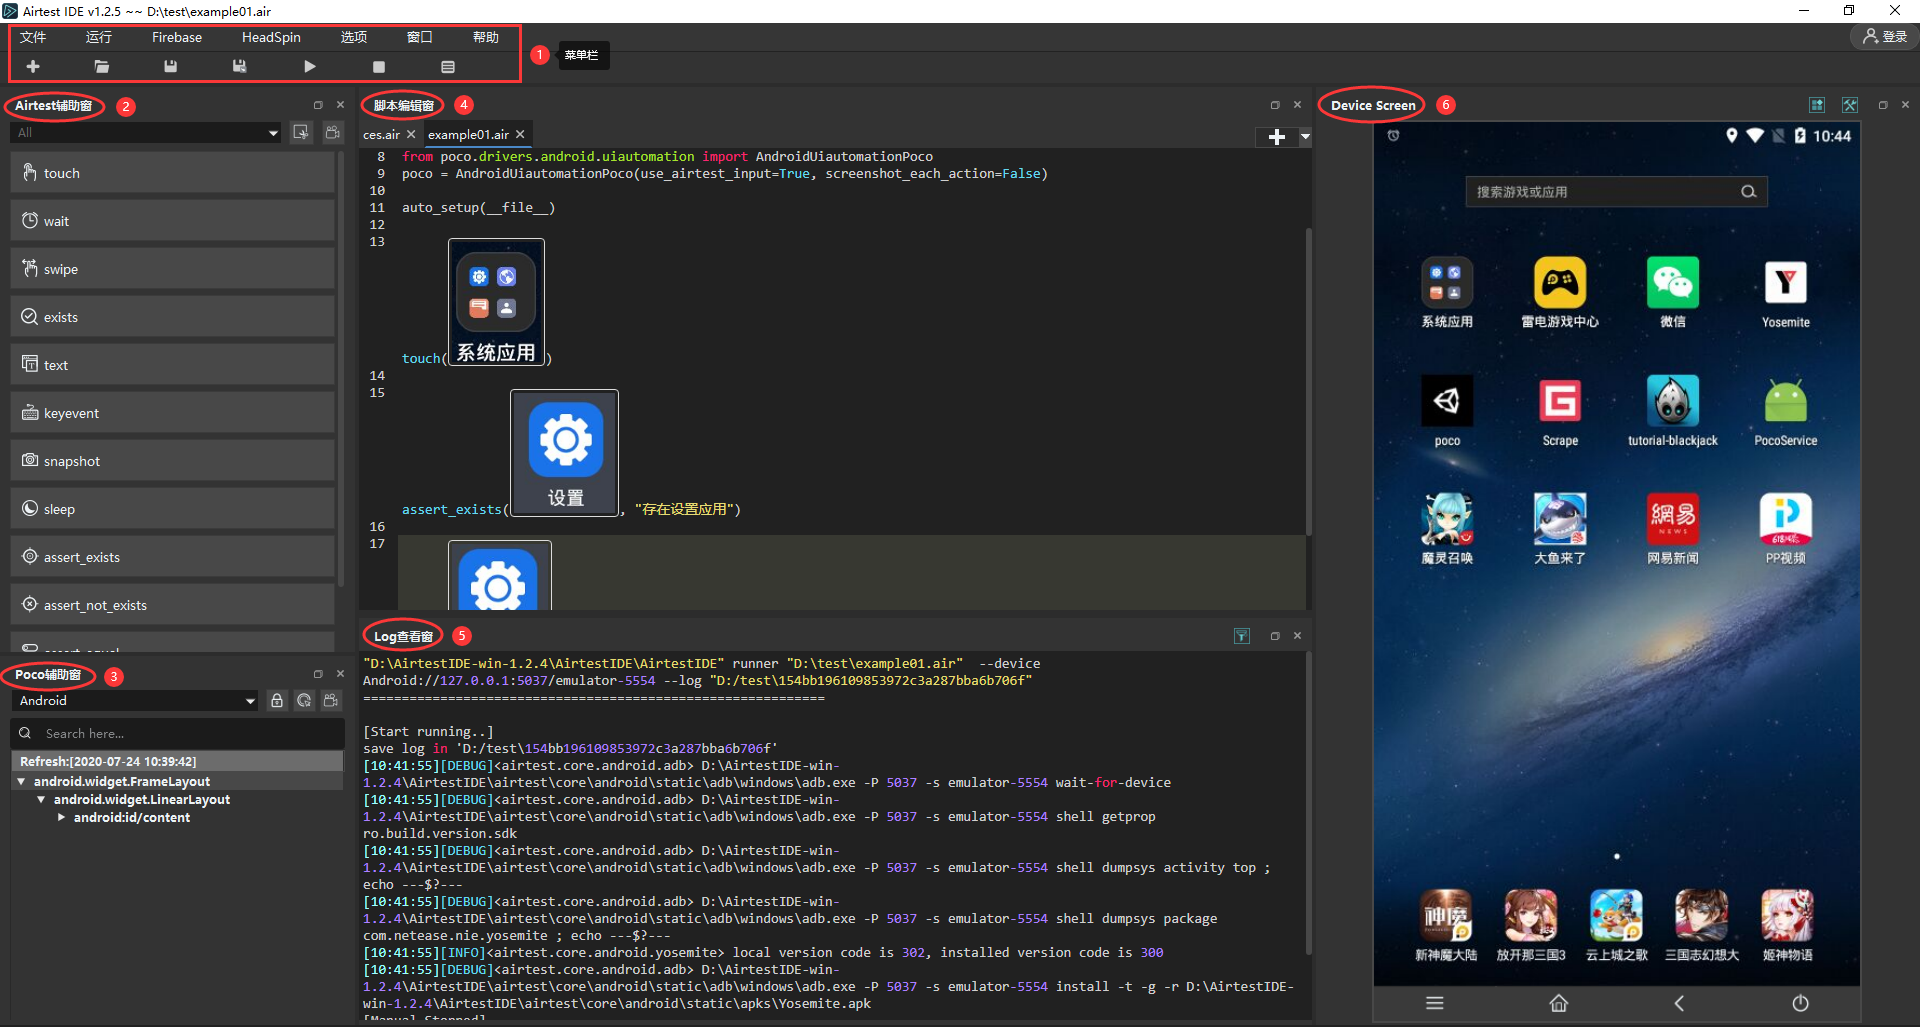
By default, AirtestIDE main interface includes a top menu bar and 5 windows which are top menu bar, Airtest and Poco window, script editor, log viewer, and device screen. There is in fact another airtest-selenium auxiliary window, but we need to check it in the window option on the top menu bar before it will be displayed in the IDE interface. In addition, the "device window" in the initial layout is the tool's device connection interaction area. Next, let's open the IDE installed in our computer and check out the functions of these windows and menus.
2.Top Menu Bar
1) Files
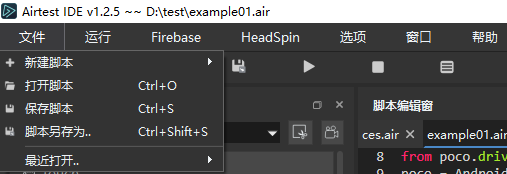
"Files" is used to perform a series of operations to files, including New, Open, Save, and Save as, etc.
2) Run
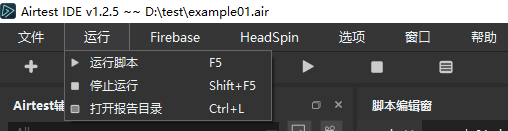
"Run" is used to run the scripts. We can also open the report menu here.
3) Firebase (Pack APK)
"Firebase" is used to pack the scripts to apk for you to run. This function is still under development, you may encounter various problems when using it. Recommended to wait for us to finish it.

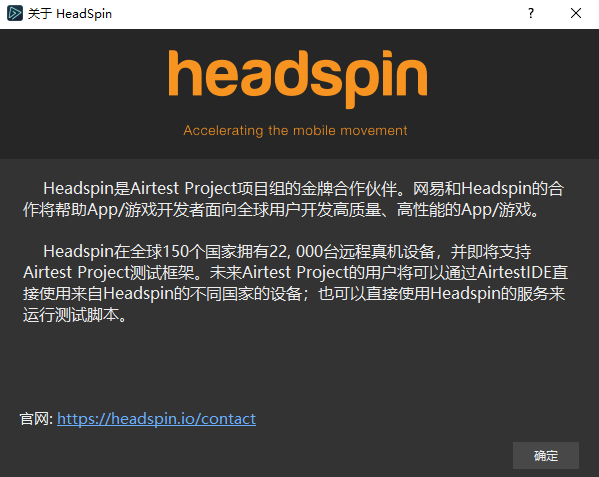
4) HeadSpin
This is a friendly introduction to HeadSpin
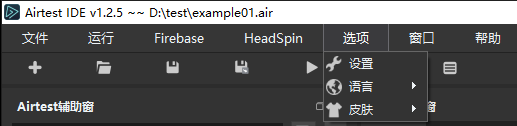
5) Options
There're a lot of functions in "Options". You can adjust the settings including Airtest, Poco, operation environment, IDE language and skin.
When using IDE, we would be using Options a lot. For example, using local Python rather than AirtestIDE's default environment to run the script; or set up chrome.exe path before performing website testings.
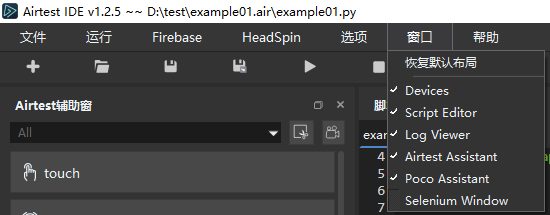
6) Window
"Window" is used to make adjustment to the IDE interface. By default there are 5 windows in IDE, among which the selenium window is not displayed by default. If you accidently dragged the windows or closed some of them, you can use the "Restore to default layout" to restore the layout to the original state.
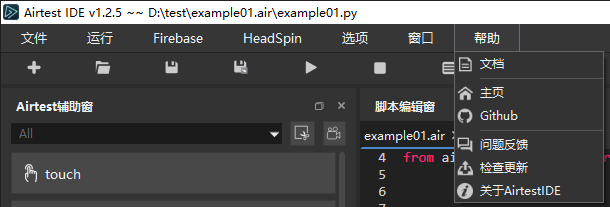
7) Help
With "Help" we can jump to official document, official pages, Airtest Project in GitHub. You can also send us feedback and update the software here.
8) Shortcut
There's a row of shortcuts at the top menu bar. They are mainly for scripts including New, Open, Save, Save as, Run, Stop, and Generate Report:

3.Airtest and Poco Auxiliary Windows
The 2 windows on the leftside of IDE, using them can help us record automation script for Airtest and Poco. If no device is connected, the screenshot related shortcuts in Airtest window will be invalid, and the Poco window will not show the info of UI rendering tree.
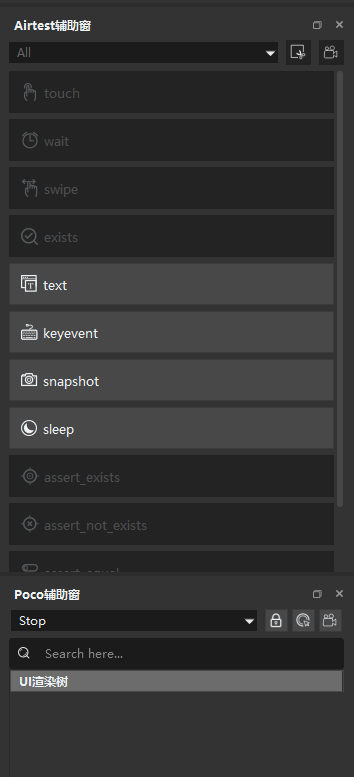
All shortcuts in the Airtest window will become available after you connected the device. You can check the detailed info of the shortcut by hovering on it. A shortcut for screenshot and recording is available on the top right corner.
We've mentioned before that Airtest is based on image recognition while Poco is based on widget search. After we connected the device, we can select the corresponding mode in the Poco window to check its UI rendering tree and perform operations. For example, we are testing a unity-based game on an Android device. We can choose unity mode in the drop-down menu, and we will get the UI tree in a moment. By clicking the 3 buttons on the top-right corner, we can lock on to a certain widget or record Poco script. If it is native Android APP that you are testing, then you need to choose Android Mode.
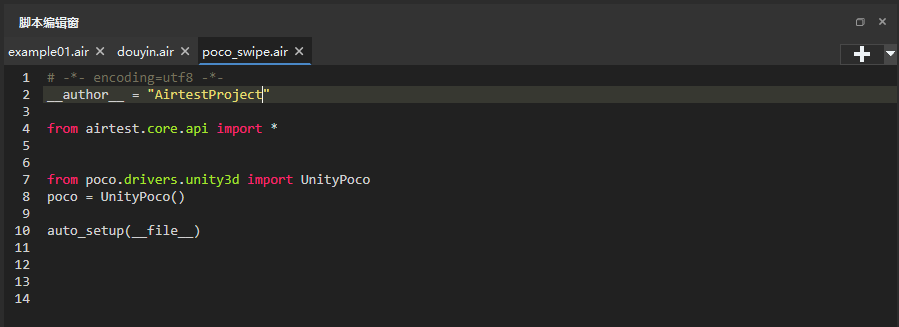
4.Script Editor
Just like what we've shown above, the recording function can help us generate Airtest and Poco script in the Script Editor automatically. We can also edit them manually in the editor.
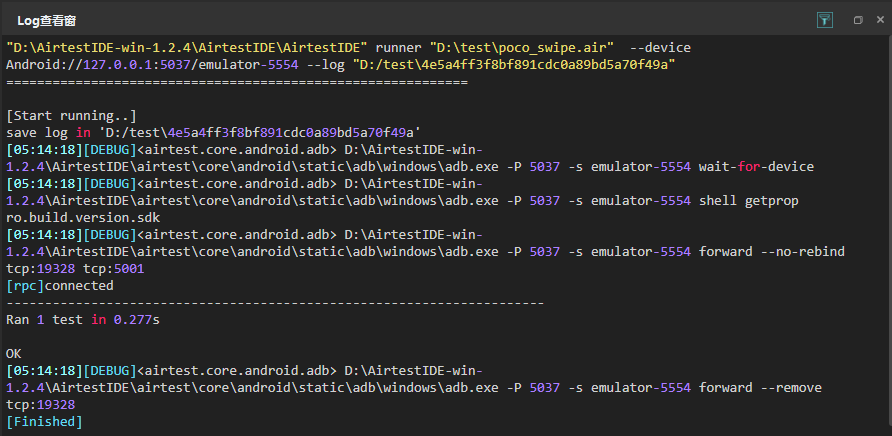
5.Log Viewer
The Log Viewer has 2 functions. First is to check the attributes of widgets when searching for them; second is to check the log while running a script.
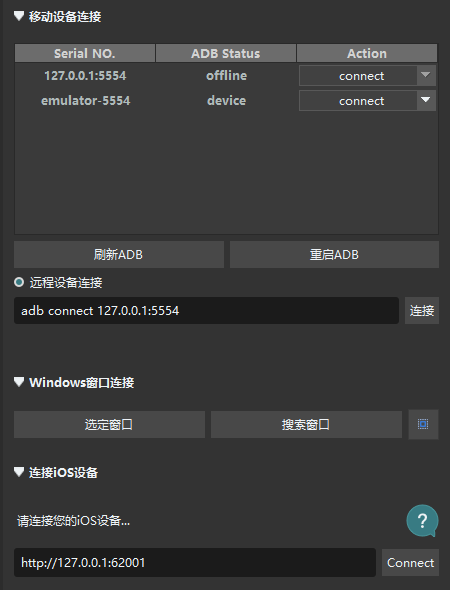
6.Device Connection Window
Here we can connect various devices including Android devices, emulators, iOS devices, Windows interface, etc. For details, please check the device connection chapters in IDE tutorial.
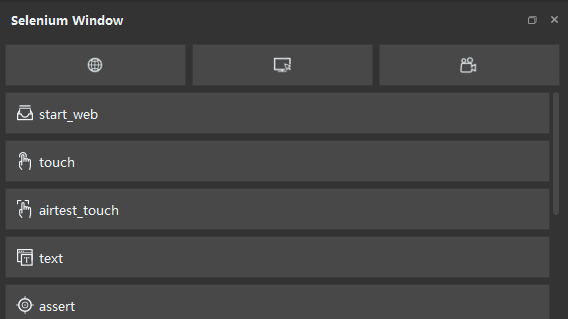
7.Selenium Window
As mentioned above, selenium window is not displayed by default. If we need to use it, we can find "Window" in the top menu bar and check Selenium Window. Here, we can record the browser under testing to help us automatically generate automation scripts based on airtest-selenium or selenium syntax. It also provides encapsulated screenshot operations, such as airtest_touch.
8.AirtestIDE Main Interface Interaction
The main interface of AirtestIDE is composed of multiple dockable windows. We can flexibly drag and drop the layout according to our own development habits and actual needs, and restore the internal layout through the drop-down menu Window - Restore Default Layout. The layout information will be automatically saved when the software is closed, and the previous layout records will be automatically continued when you restart/update the software.